How to Wire M8 Circular Connector? Step-by-Step Guide
- Share
- Issue Time
- Mar 25,2026
Summary
In modern industrial systems, the installation of M8 circular connectors plays a critical role in ensuring stable signal transmission and reliable power delivery. These compact connectors are widely used in automation, sensors, robotics, and control systems.

How to Wire M8 Circular Connector? Step-by-Step Guide
Introduction
In modern industrial systems, the installation of M8 circular connectors plays a critical role in ensuring stable signal transmission and reliable power delivery. These compact connectors are widely used in automation, sensors, robotics, and control systems.
However, improper wiring or installation can lead to signal failure, short circuits, and reduced equipment lifespan. This guide provides a complete step-by-step process to help you achieve safe and reliable connections.
About CONNODER
CONNODER is a professional manufacturer specializing in circular connectors, offering high-quality M8, M12, and waterproof connector solutions. With extensive experience in R&D and manufacturing, CONNODER provides reliable connectivity solutions for industrial automation, robotics, and harsh environments.
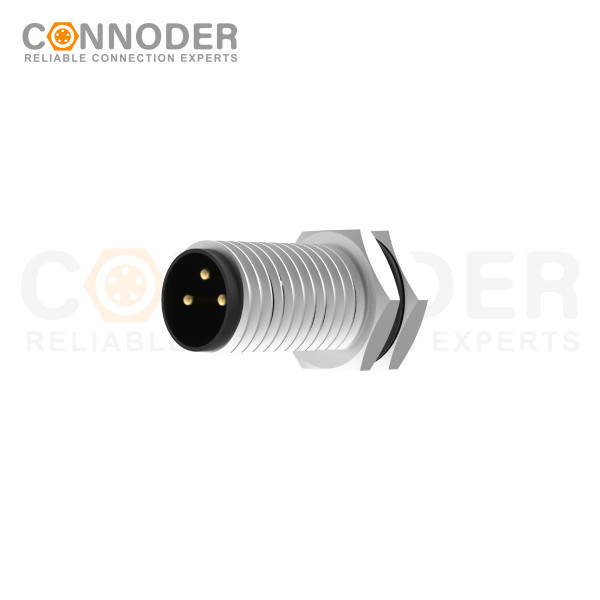
M8 Circular Connectors
Rugged, compact and versatile — ideal when you need mixed power & signal plus environmental protection.
Tools Required for Installation
Wire stripper
Crimping tool or soldering iron
Screwdriver or torque tool
Heat shrink tubing
Multimeter
Step-by-Step Installation Guide
Step 1: Select the Correct Connector Type
Identify the correct pin configuration (3-pin, 4-pin, etc.), connector gender, and type (field-wireable or pre-molded) to ensure compatibility.
Step 2: Prepare the Cable
Strip the outer insulation carefully and expose the internal wires without damaging the conductors.
Step 3: Identify Pin Configuration
Follow the correct wiring diagram. Typically, Pin 1 is power, Pin 3 is ground, and others are used for signal transmission.
Step 4: Connect the Wires
Insert wires into the appropriate terminals using crimping, screw fastening, or soldering methods. Ensure correct placement.
Step 5: Secure and Insulate
Tighten all connections and apply heat shrink tubing to ensure insulation and prevent electrical hazards.
Step 6: Assemble the Connector
Align components correctly and lock the connector securely to avoid loosening or misalignment.
Step 7: Test the Connection
Use a multimeter to check continuity and verify correct wiring before powering the system.
Best Practices
Ensure proper tightening to maintain stability
Maintain waterproof sealing for IP67/IP68 protection
Double-check wiring before operation
Use high-quality connectors for better reliability
Common Mistakes
| Mistake | Impact | Solution |
| Incorrect wiring | System malfunction | Follow wiring diagram |
| Loose connection | Signal instability | Tighten properly |
| Poor insulation | Short circuit | Use heat shrink |
Why Choose CONNODER
High durability in harsh environments
Stable signal transmission
Waterproof and dustproof (IP67/IP68)
Customizable connector solutions
Conclusion
Proper installation of M8 circular connectors ensures reliable performance, safety, and long-term durability. By following this step-by-step guide, you can significantly reduce failure risks and improve system efficiency.
What is the correct way to install an M8 circular connector?
The correct installation process includes selecting the right connector type, preparing the cable, wiring according to the pinout, securing the connection, assembling the connector, and testing it with a multimeter to ensure proper functionality.
How do you wire an M8 circular connector step by step?
To wire an M8 connector, strip the cable insulation, identify the pin configuration, insert wires into the correct terminals, secure them using crimping or soldering, assemble the connector, and finally test the connection for accuracy.
What tools are needed for M8 connector installation?
Common tools include a wire stripper, crimping tool, soldering iron, screwdriver, heat shrink tubing, and a multimeter for testing the connection.
What are common mistakes when installing M8 connectors?
Typical mistakes include incorrect pin wiring, loose connections, poor insulation, and skipping the testing step, all of which can lead to connection failure or system malfunction.
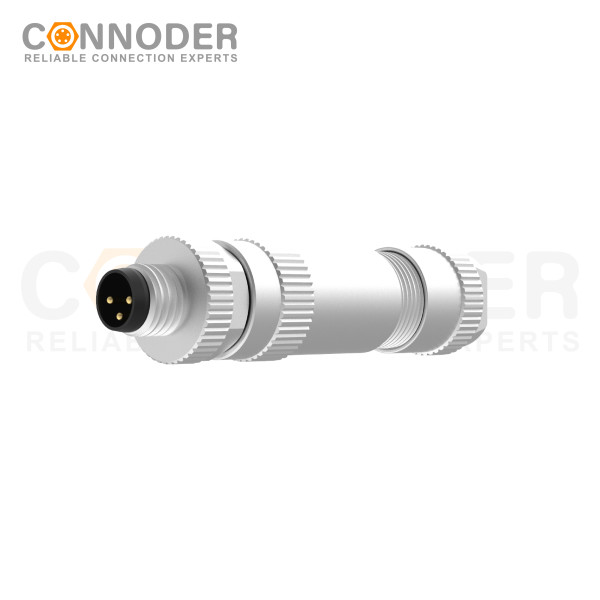
The M8A coded circular connector is known for its compact design, rugged construction and reliable performance.
The M8A coded circular connector is known for its compact design, rugged construction and reliable performance.

The M8A coded circular connector is known for its compact design, rugged construction and reliable performance.

The M8A coded circular connector is known for its compact design, rugged construction and reliable performance.